User Manual for BinEd BlueJ Extension
Example look of the application's GUI:
Features
- Data as hexadecimal codes and text preview
- Insert and overwrite edit modes
- Support for selection and clipboard actions
- Support for showing unprintable/whitespace characters
- Support for undo/redo
- Support for charset/encoding selection
- Codes can be also binary, octal or decimal
- Searching for text / hexadecimal code with matching highlighting
- Support for huge files
- Delta mode - Only changes are stored in memory
How to Use
BinEd is available in multiple variants including plugins for other applications.
Requirements
Installation
Main Window
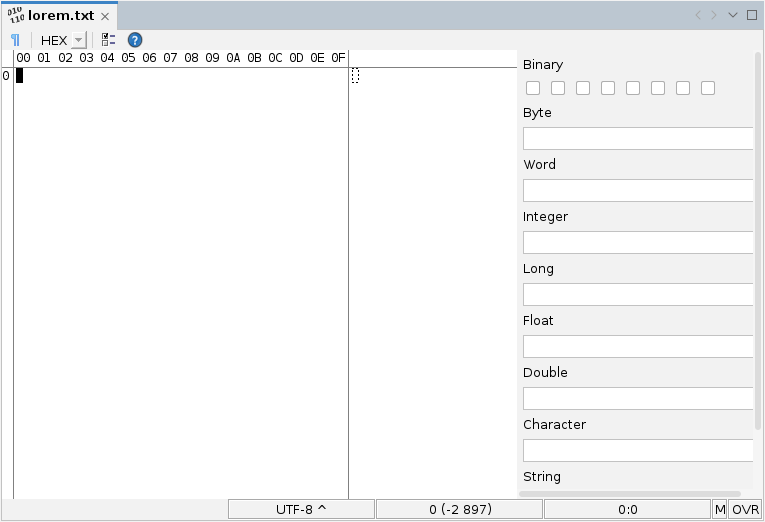
Application consists of (from top to bottom):
- Toolbar strip with quick action buttons
- Main data area, optionally with content parsing panel on right side
- Optionally status bar showing currently selected encoding, cursor position and other states
Toolbar
Toolbar provides access to some of typically used actions.
- You can toggle code type between binary, octal, decimal and hexadecimal
- You can toggle visibility of unprintable characters
- Action to open options dialog
- Action to open online manual
Code Area
In basic mode, data are shown as matrix of numeric codes and also as regular text at the same time.
Optionally there is header, which represents position offset for the particular code on the given column.
Row starts optionally by row position. Row position can be represented by numbers in octal, decimal or hexadecimal base independent on code base.
Popup menu is available with actions which depends on which section of the code area was clicked on.
Parsing Panel
Content parsing panel provides analysis of the data at the cursor position.
Currently, only simple list of values is available. Values are updated when cursor in code area is moved.
It's possible to edit the values and overwrite content of the document on the cursor position with ENTER key.
Values panel supports options for big and little endian - this affects order of bytes for multibyte values.Support for signed and unsigned variants of some values - first bit is typically used for negativity sign.
Status Bar
Status bar is bottom section of the main window.

It has following 5 sections - from left to right.
Current Encoding
Left click cycles throw set list of encodings.
Popup menu provides ability to select specific encoding from the list or to manage it.
Document Size
Shows document size in specific code type and in brackets difference to size of the saved document.
If there is selection active in the document then it shows size of the selection to size of the document.
Tooltip shows document size in all three code types.

Popup menu allows selecting code type or to copy the value.
Cursor Position
Shows current position of the cursor in the document as position in the document and position in the code.
If there is selection active in the document then it shows start and end position of the selection.
Tooltip shows cursor position in all three code types.
Popup menu allows selecting code type or to copy the value.
Memory Mode
Shows currently used memory mode.
Modes are:
- Delta Memory Mode
- RAM Memory Mode
- Native File Mode
Tooltip shows full name of the memory mode.
Popup menu allows switching memory mode. This will close the document and reopen it in selected mode.
Edit Mode
Following edit modes are supported:
- RO - Document is in read-only mode and cannot be edited
- INS - In insert mode edit operation inserts data to current cursor position
- OVR - In overwrite mode edit operations replaces data at the current cursor position
It's possible to switch between insert and overwrite with single click on the status bar or with INSERT key
Editing File
File is show in code area as a sequence of codes and preview characters.
You can edit numerical codes, or you can edit preview characters via keyboard or using available actions.
You can select specific range of data with using mouse while holding left button or holding SHIFT button while moving in code area.
Edit Mode
Two modes are supported:
- Insert mode
- Overwrite mode
In insert mode entering new codes or charaters inserts space at the current cursor position to insert new data. Inserting data from clipboard inserts this data at the current position (making additional space).
In overwrite mode data are replaced at the current cursor position. Inserting data from clipboards replaces data at the current position and only extends file if not enough space is available.
Undo Support
If changes you made to the file is not what you wanted to do, you can revert some number of last edit operations you performed.
- Undo action reverts one operation
- Redo action performs again previously reverted operation
Tools and Actions
Go to Position
Use this action to move cursor to specific position:
Context Menu / Go To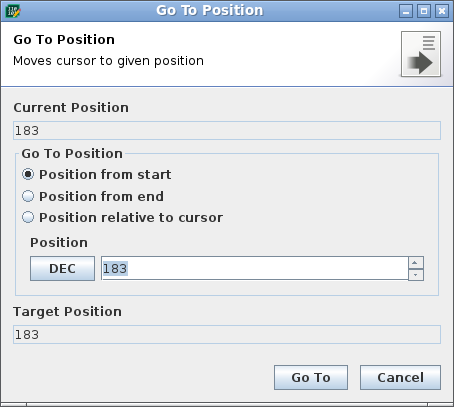
You can specify position relative to current position, start or end of the document.Position can be specified in octal, decimal or hexadecimal base.
Edit Selection
Use this action to specify exact selection range:
Context Menu / Edit Selection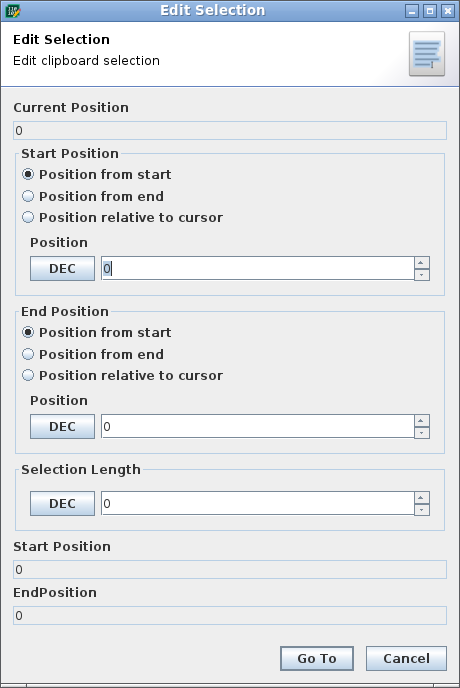
You can specify position relative to current position, start or end of the document.Position can be specified in octal, decimal or hexadecimal base.
Find or Replace Data
Use this action to find specific text or sequence of codes:
Context Menu / Find
Context Menu / Replace
This will open quick search bar:

You can enter searched text or data and toggle match case and highlighting mode buttons.
You can switch between multiple matches if found.
Options button opens dialog with additional options:
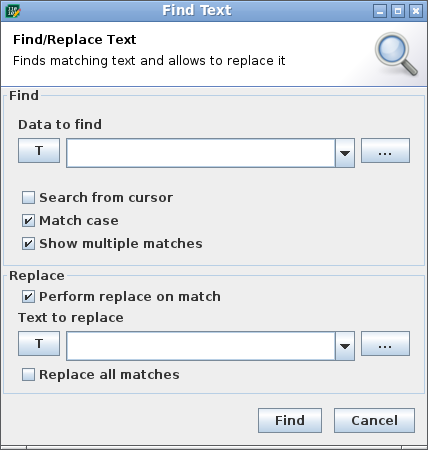
Insert Data Action
Use this action to insert data to current position:
Context Menu / Insert DataData will be inserted or will replace previous data depending on the current edit mode.
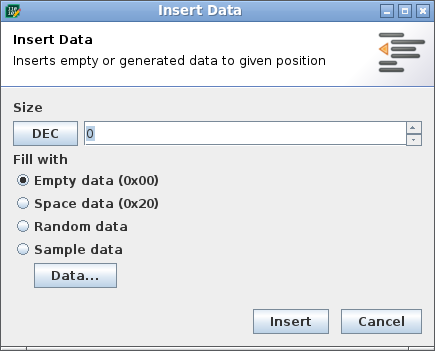
Length can be specified in octal, decimal or hexadecimal base.
Compare Files Action
Use this action to compare content of two files:
Context Menu / Compare Files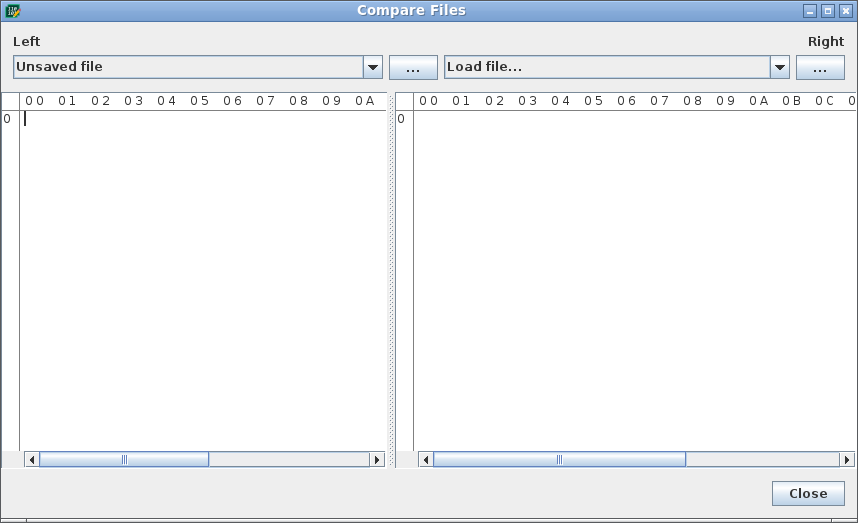
Print Document
Not available
Debug View
View Options
Some display options for code area are accessible via View menu.
View modes
- Code Matrix - Show matrix of codes representing data of the file
- Text Preview - Show textual characters representing data using currently selected encoding
- Dual - Show both code matrix and text preview next to each other (default)
Code Type
- Binary - shows data as numbers of the base 2. This mode is useful to show actual bits of the data. Values are in range 0 - 11111111
- Decimal - Shows each data byte as decimal value in the range 0 - 255 in typical form which most people are used to
- Octal - Each byte is represented as three values of the base 8, therefore in range 0 - 377. Each figure represents up to 3 bits
- Hexadecimal - Most commonly used form for technical purposes as each byte is represented as two figures of base 16. Value 10 to 15 are shown as alphabet letters A to F which can be optionally of lower or upper case. Each figure represent 4 bits of data
Position Code Type
In left side of the code area there are shown position in the file. It's possible to choose code type for this position as octal, decimal or hexadecimal.
Hex Characters Case
In hex code type codes above 10 are shown as characters A to F. You can choose if this codes will be upper or lower case.
Show Unprintable Characters
Some characters don't have visual representation in the preview section. For example characters like:
- Space characters
- Tabulator character
- Carriage return / new line characters
This provides option to display substitute characters with different color instead to better visualize this particular characters.
Code Colorization
This option provides ability to display some codes with different colors.
Currently, only single mode is available:
- Control codes: 00h to 1Fh
- Upper codes: 80h to FFh
Choose Font
You can change font used in code area.
Options / Appearance / Text Font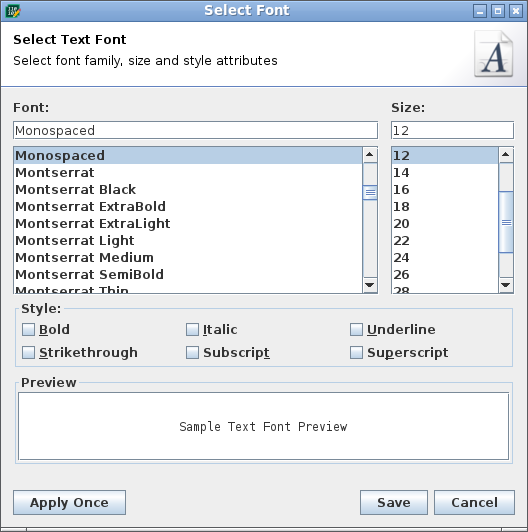
You can select specific family of the font, size in pixels, style parameters like bold and italic.
In preview section you can see how the selected font will look, or you can enter other text of your choice there.
Encoding
Text preview section is showing data decoded to textual characters according to currently selected encoding. Method of conversion between RAW data and characters is described in so called encoding. Java supports universal UNICODE encodings as well as various ISO and platform specific encodings often tailored for specific country/language.
Encodings can be either fixed where single numeric code is represented as single character. Some encodings like for example UTF-8 uses codes with different length of codes to represent characters. Each character in textual preview section is decoded from particular position, therefore characters longer than single byte will overlap.
User can set list of encodings available for quick switching in encodings manager dialog.
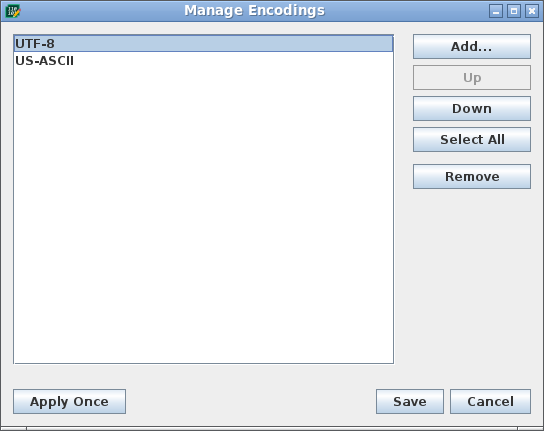
It's possible to move/reorder encodings in the list and add another encoding.
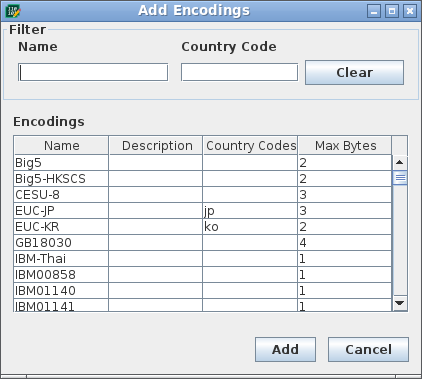
Encodings can be filtered by name and/or country code.
Active encoding can be either selected by popup menu or cycled through by single click in the status bar.
Options Dialog
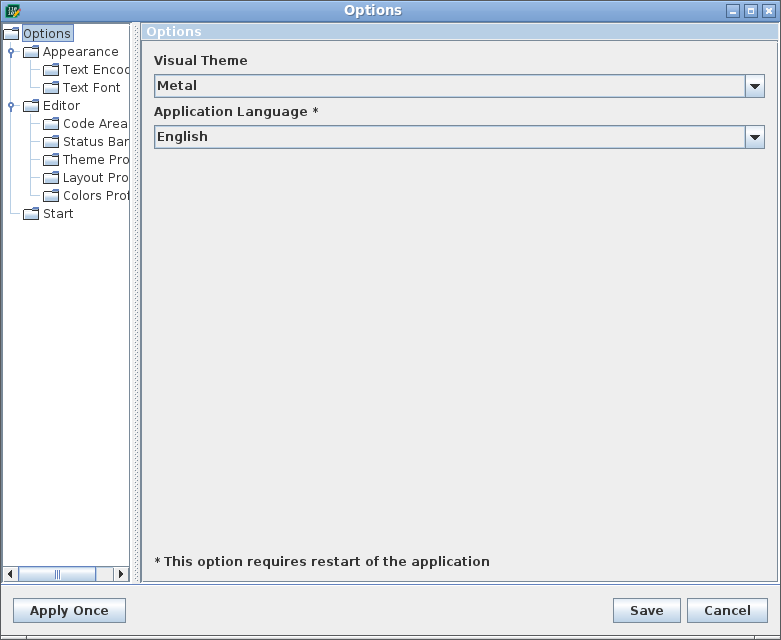
Code Area
Code area options allows setting various options related to code area.
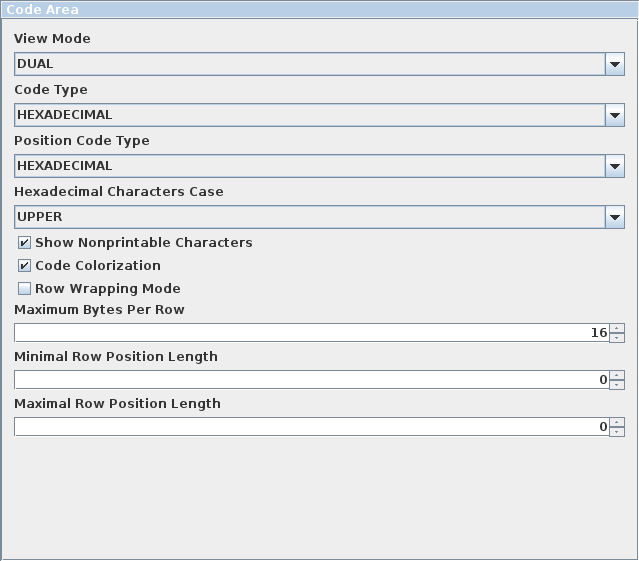
Maximum bytes per row allows setting how many codes / preview characters will be visible on the page.
In default mode (16) code area always shows 16 codes per row.
Alternative mode is to use (0) in which code area will fit as many codes per page to fit visible area.
Row position length parameters allows setting of behavior of row position codes.
In default mode (0, 0) row positions will have as many digits as needed for current size of the document.
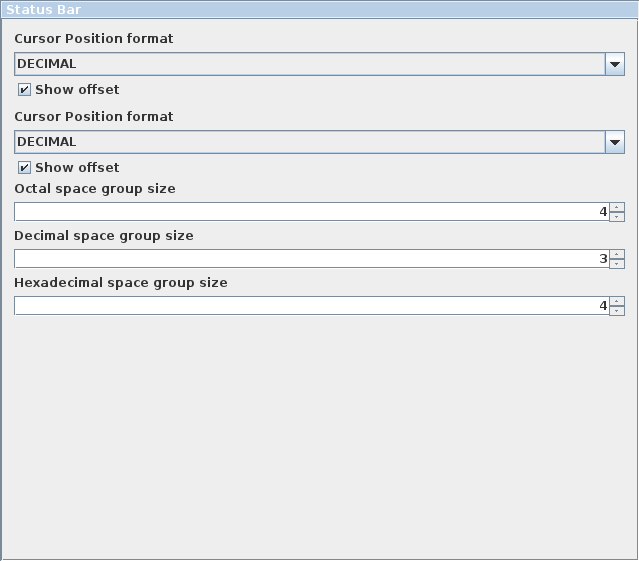
Status Bar
Options for status bar allows to set same options as available in popup menu actions in status bar.
Layout
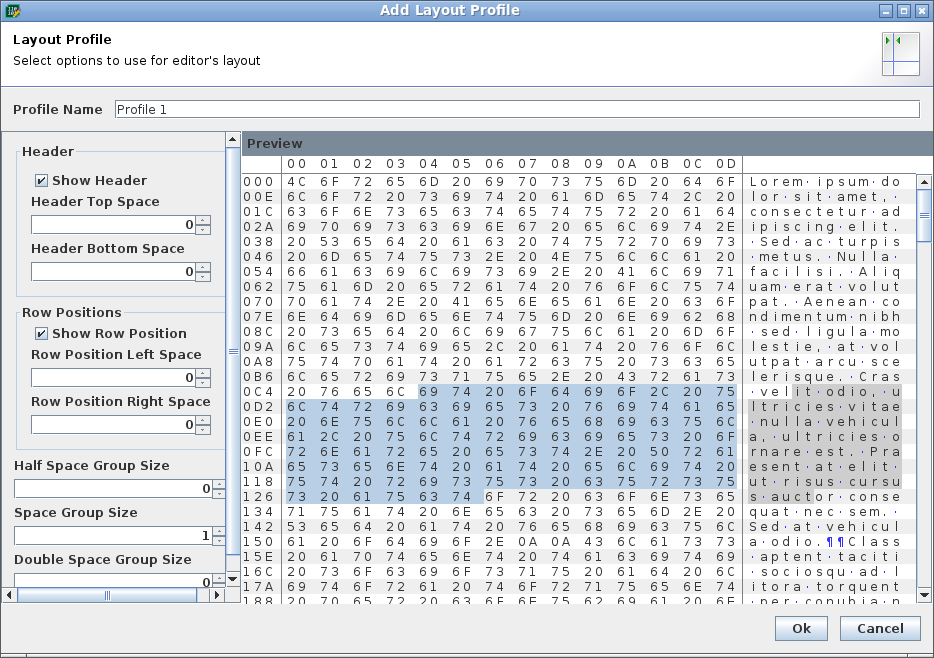
Multiple layout profiles are supported. You can define your own or use one from templates.
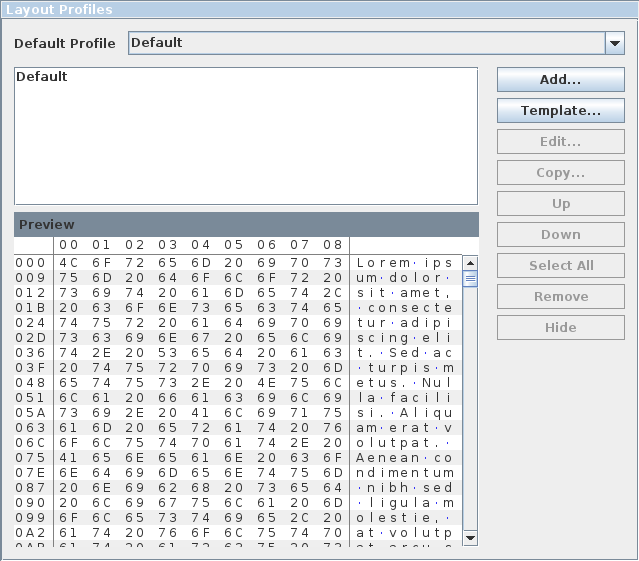
Layout options specify positions of the displayed data. Primary capability is to specify size and frequency of spacing between characters.
Decorations
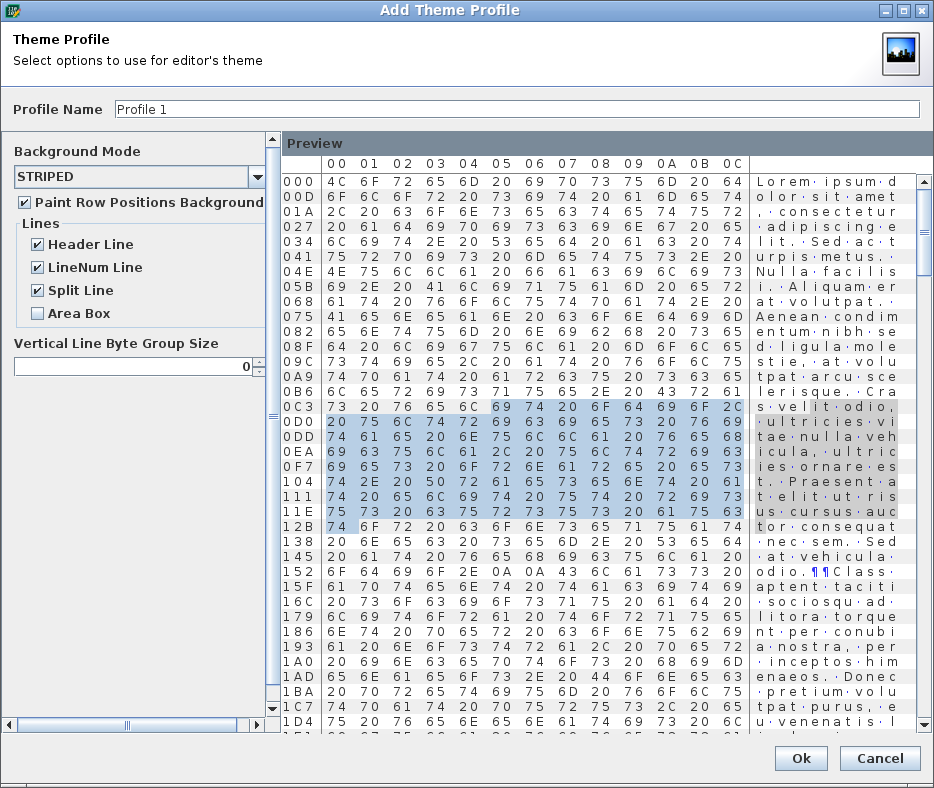
Multiple decoration profiles are supported. You can define your own or use one from templates.
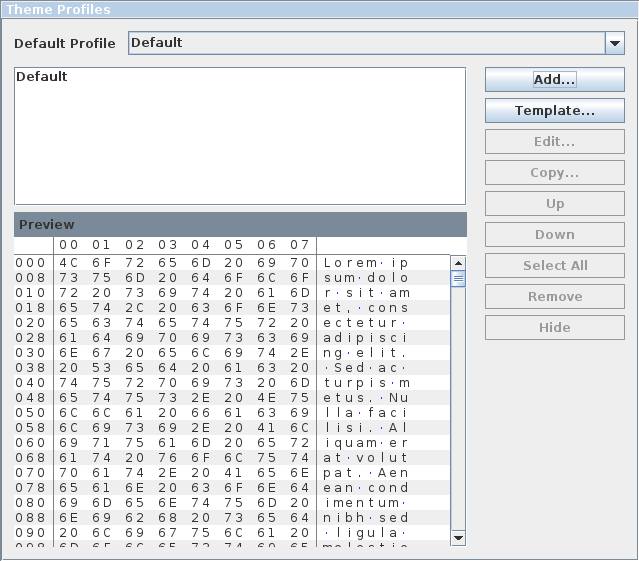
Decoration options allow specifying additional cosmetic entities, namely lines and shapes.
Colors
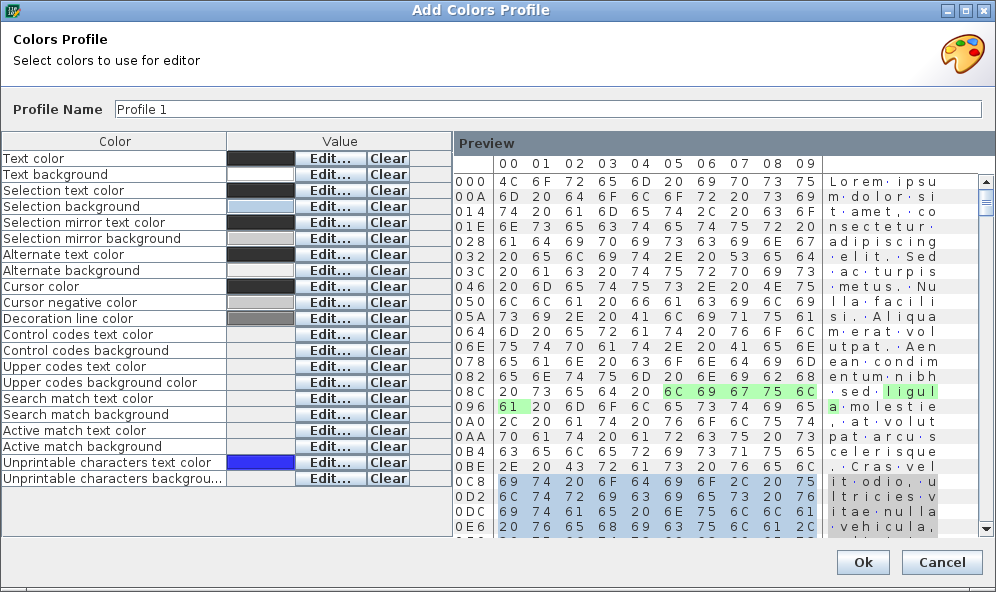
Multiple color profiles are supported. You can define your own or use one from templates.
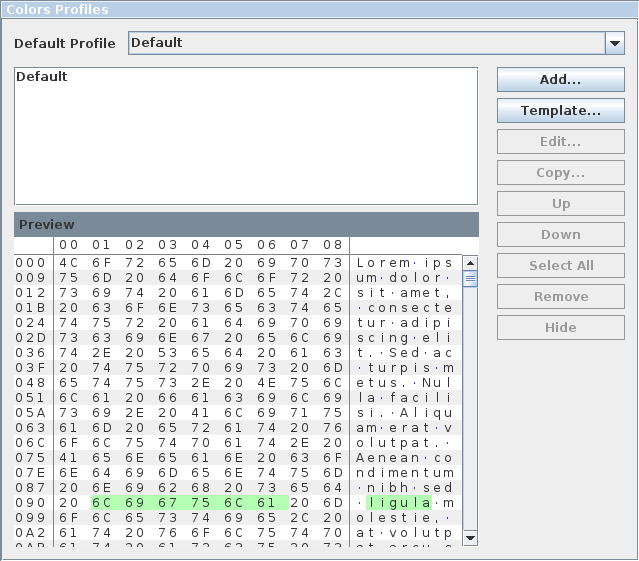
It is possible to specify colors of text, background, decorations and make it specific for areas like selection or found matches.If color is not specified, default color from current Look and Feel is used.
Help
This online manual is available when clicking on Online Help in context menu or in toolbar.
About Dialog
You can show basic information about application with:
Context Menu / About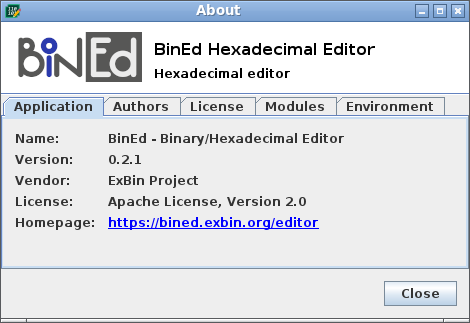
Participate in the Development
As the project is free and open source, you can participate in the development in many ways:
- Modify this manual / wiki page
- Report an issue or suggest a feature on GitHub
- Modify source codes of the editor and provide PR on GitHub
See. https://bined.exbin.org/?participate for more details.
License
Project uses Apache License 2.0, see: